
This is an overview and basic guide on how to upgrade to Hall Effect sticks. This is not the be-all-end-all for the Hall Effect upgrade, some people are still experiencing issues so you may have to work through them to figure out what will be needed for your exact unit to mitigate the magnetic interference.


Materials needed
- Phillips size 100 driver
- Plastic pry tool
- Small wire snips or scissors
- Hall Effect Joysticks from OneXPlayer or AYA
- You can buy them HERE Price is for 1 stick.
- Kapton tape
- Double-sided tape
- Aluminum tape
Notes:
- This shouldn’t void your warranty. You can contact customer service for better clarification based on your country, laws, and what’s allowed.
- The Red “warranty void” sticker on the battery and heat pipe does not void your warranty provided you do not damage anything inside of the device and restore it to a factory original condition before the RMA
- Be extremely careful when removing the back panel screws, and daughterboard screws as they can strip!
- BY FOLLOWING THIS GUIDE YOU TAKE RESPONSIBILITY FOR YOUR OWN ACTIONS
Credit:
- OkestGamer: Video and pictures of hall installation
- Raptors: Pictures of Hall installation and Raptor pics
OkestGamer did an updated installation and overview video. Please refer to his video for more information. You Can Join the OKest Gamers Discord server here.
Instructions:
- Remove back panel
- Unplug battery


- Remove ribbon cables from each daughter board
- Remove screws from each daughter board
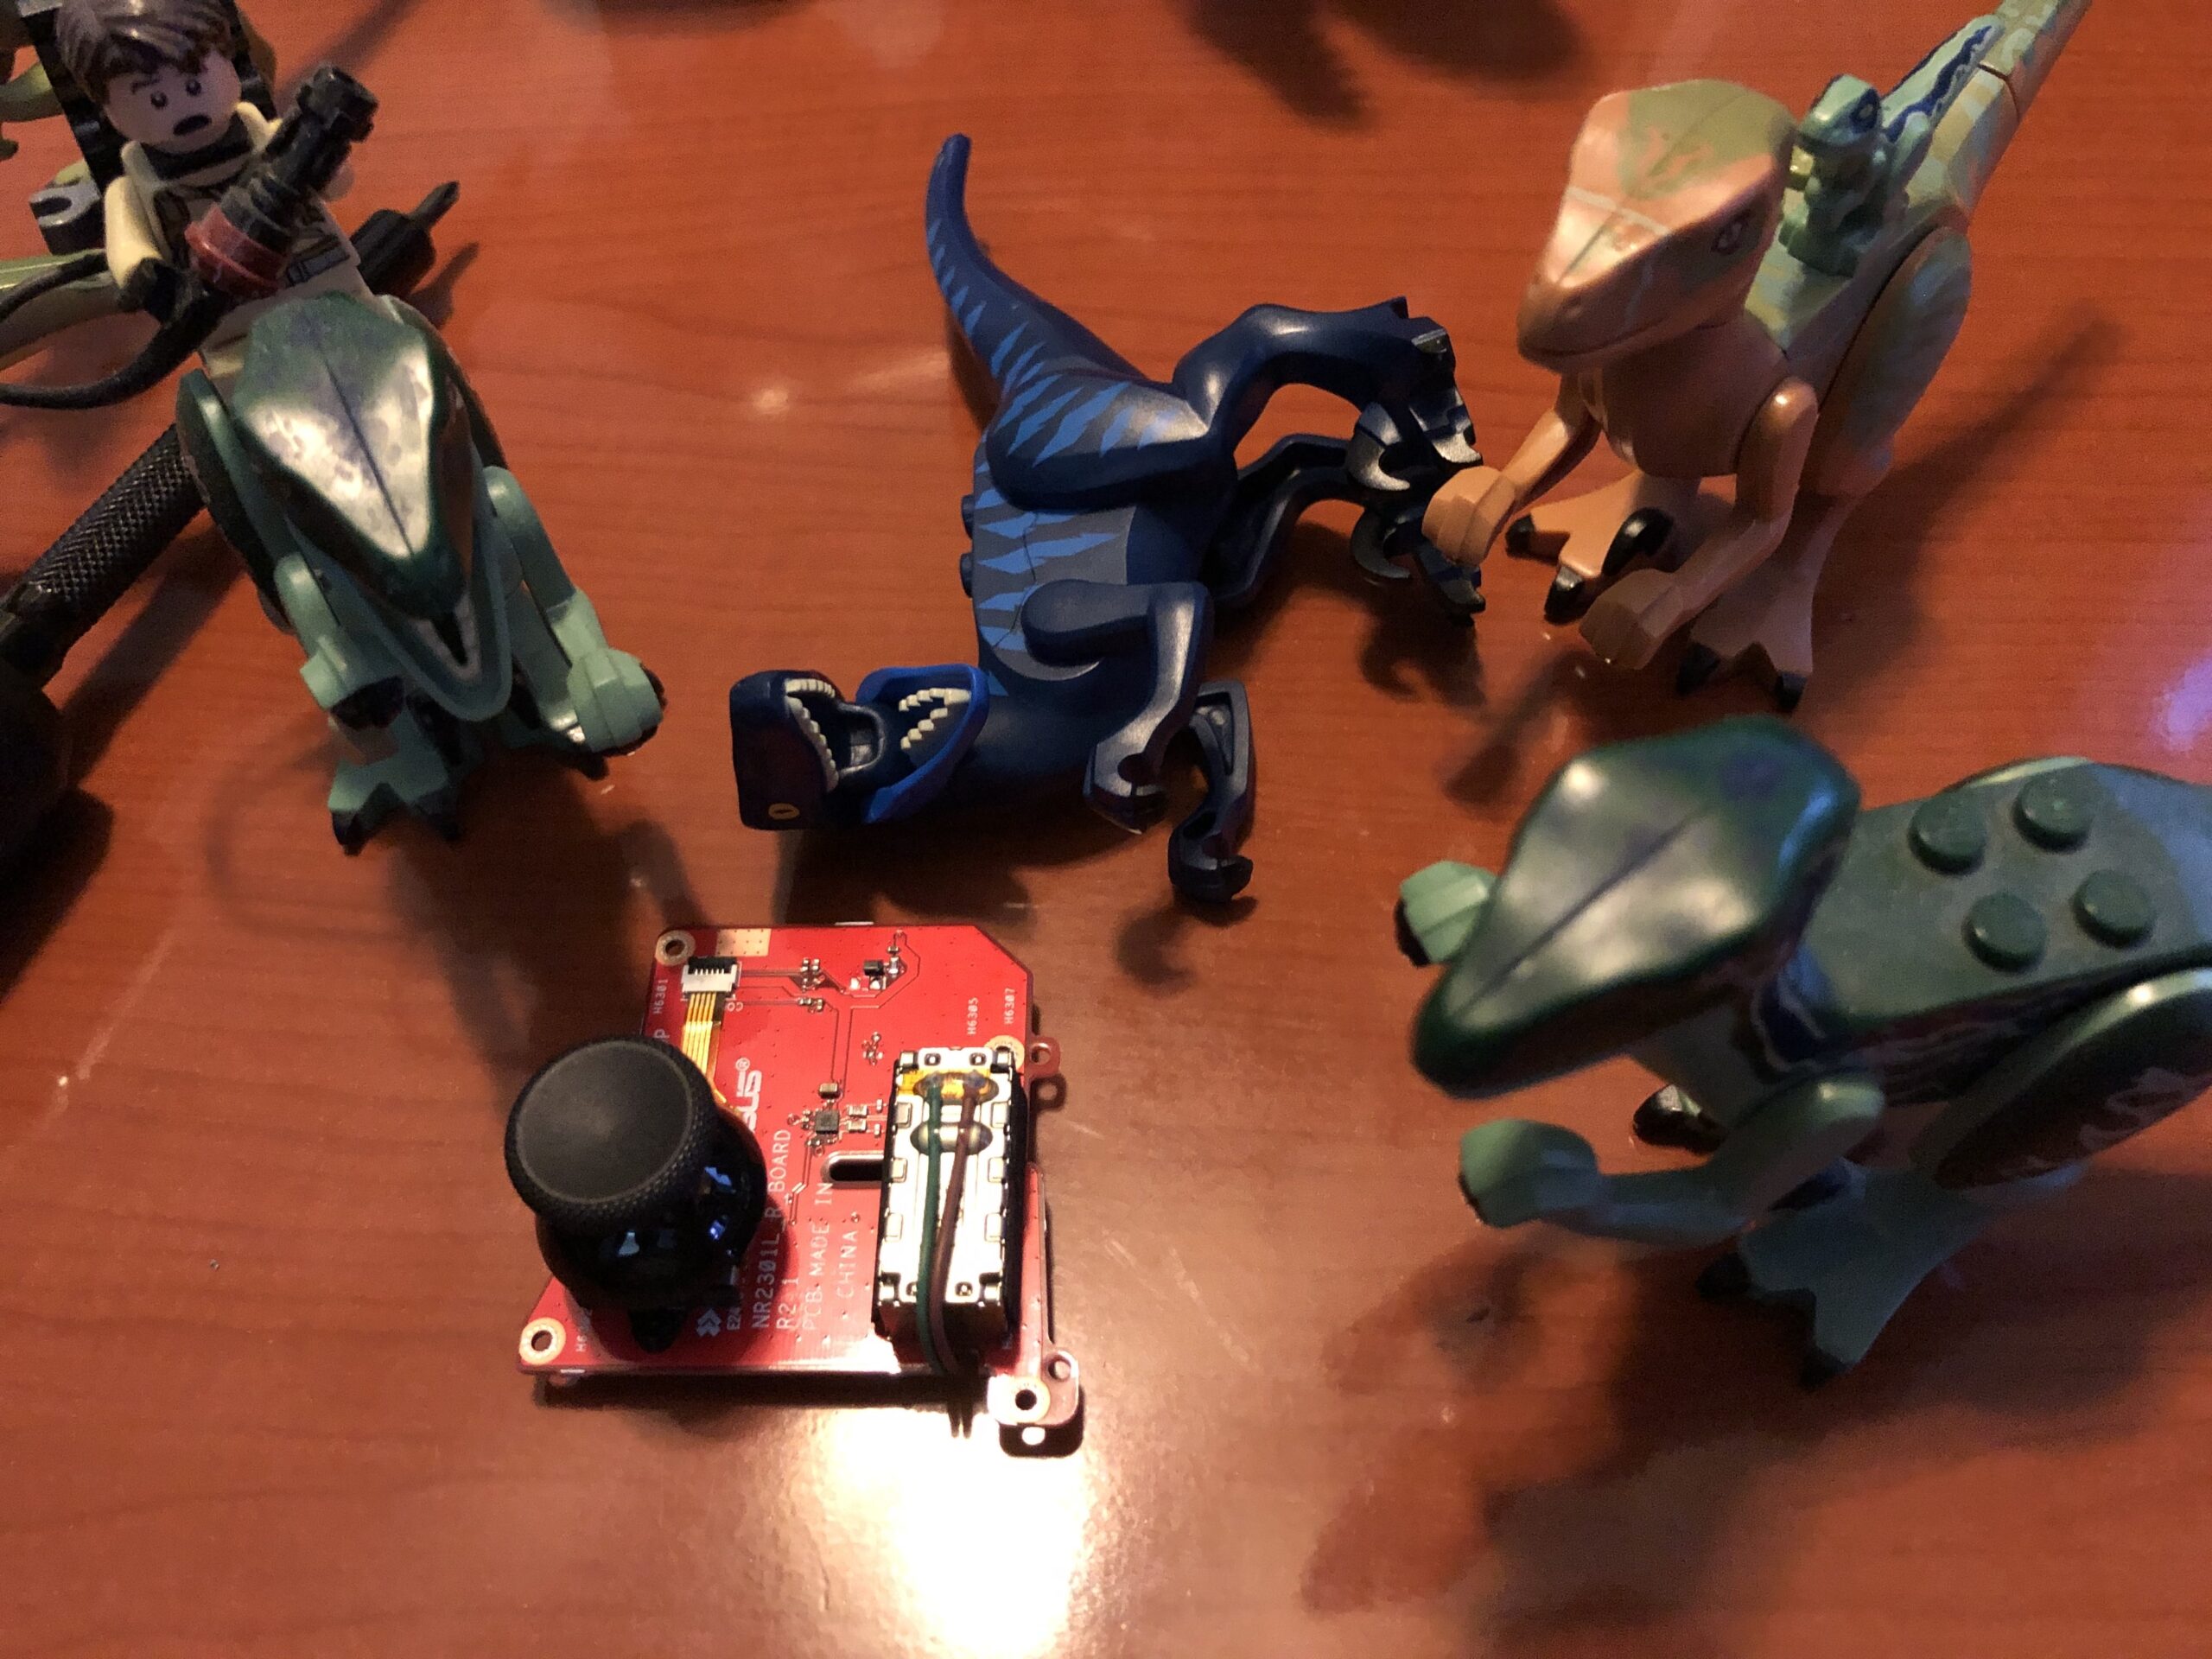
- Gently remove the Left and Right stick PCB
- Unplug the joystick ribbon cable from the daughter board
- Remove the two screws that hold down the hall stick


Joystick interference fixes
- Place Kapton tape under where the joystick will sit, be careful not to cover any holes
- Wrap the joystick in Aluminum tape, and be sure to leave enough room for the stick to still move correctly.
- Wrap the unit in Kapton tape, and be sure to leave enough room for the stick to still move correctly.
- Use double-sided tape to affix the magnet in this location.


Reassembly
- Reinstall the thumbstick cap and ensure that there’s no play in it. (if there is now is a good time to apply the thumbstick wobble fix.
- Reinstall the left and right daughter boards back into the shell.
- Screw PCB’s back in.
- Affix ribbon cables back.
- Plug the battery back in.
- Close the shell all the way (so the light sensor isn’t tripped),
- Plug in the OEM charger, press and hold the power button, and release it once the screen is on.
- The Ally will not power on after the back cover has been opened unless you plug in the OEM charger.
- Once on the Republic Of Gamers screen you must wait around 180 seconds for it to boot
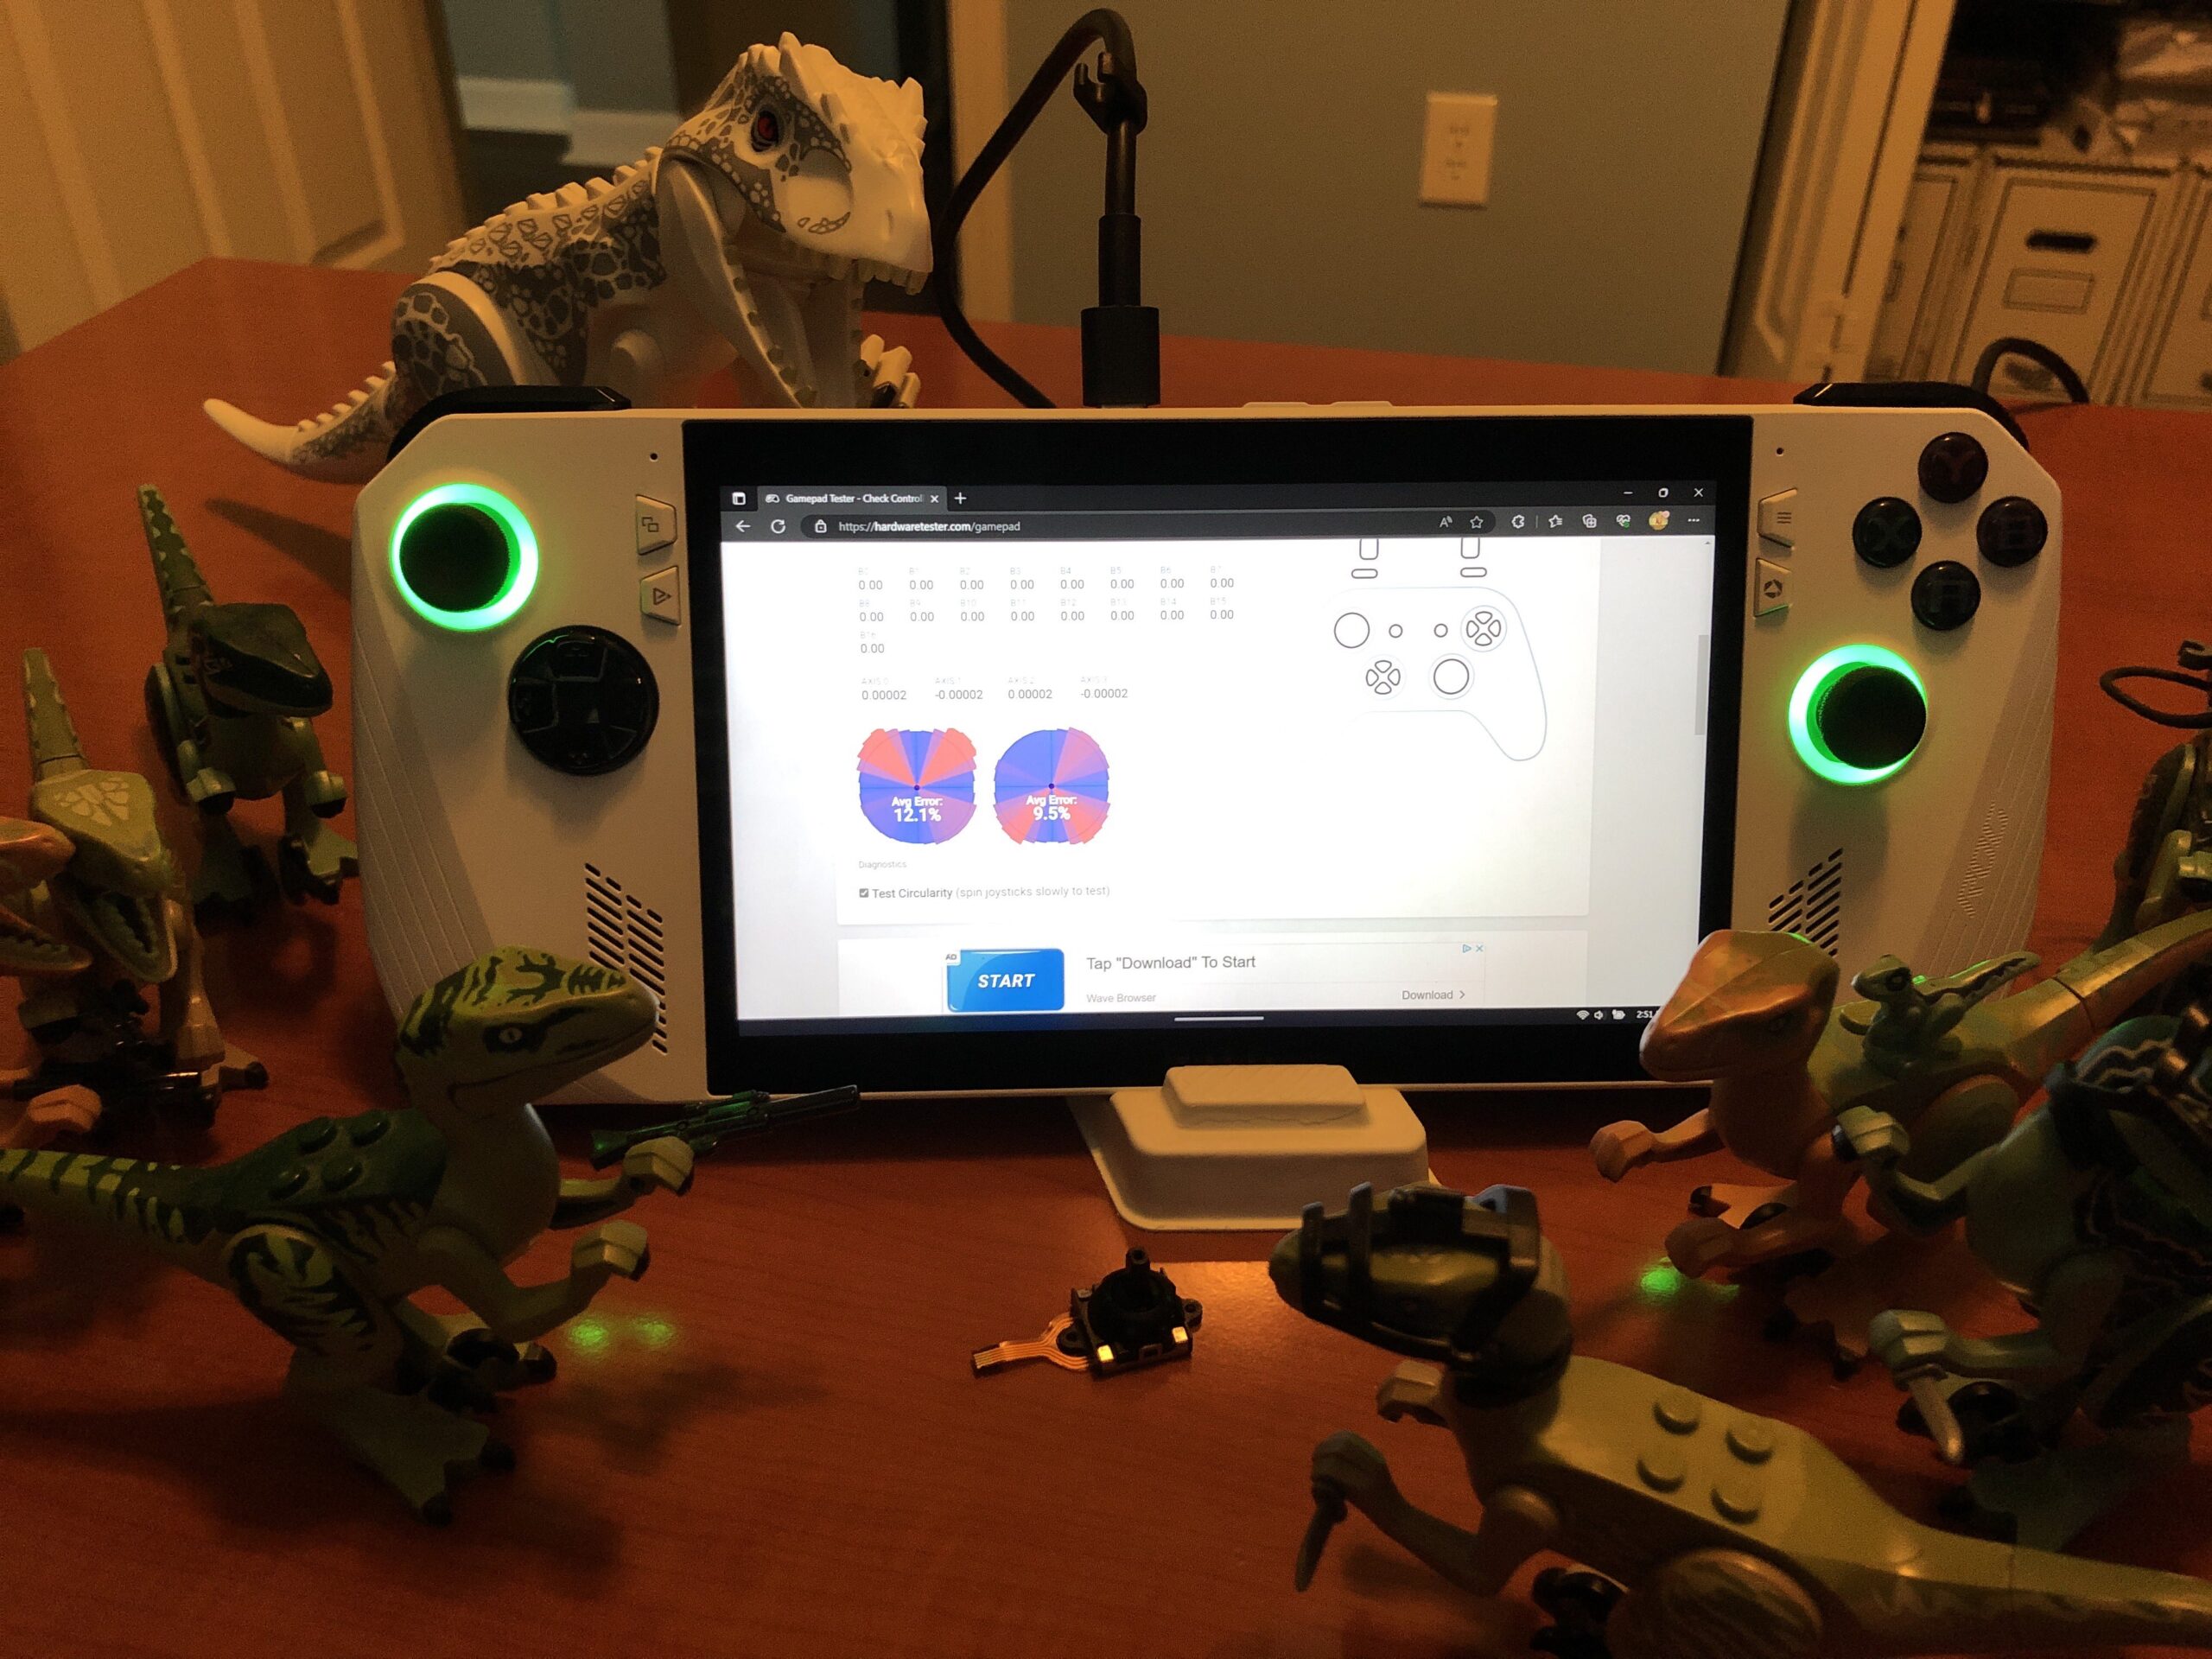
- Test inputs with Gamepad tester to make sure everything is working correctly
- Screw the case back together if everything is working correctly